kevorama
MOgang Member & Pyro-Man
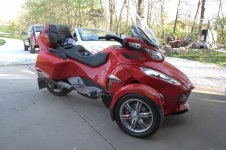
OK guys and gals, here's a real no - no. I ordered a 16' set of 300 RBG LED roll from SuperBrightLED's.com so that I could do a custom under lighting different from the norm that is available. I felt comfortable enough in my abilities to pull this off. It has been sitting in the box for almost 45 days and I really needed to check that they worked as not to go past the warranty and find out down the road, when I finally got them on, that they were bad.
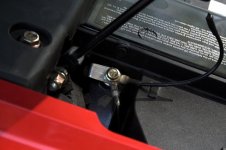
So, I popped the seat, loosened the + jumper barrel nut, loosened the - jumper bolt (see first pic) ... and that's where it all fell apart. You'll see that there's a big + and - molded into the plastic cover for where you would put jumper cables to start a dead battery. I have taken a series of photos, I hope that this helps to keep anyone else from making this mistake. I can't believe that BRP has such a rediculous design on this.
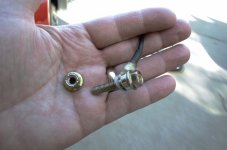
This looked pretty straight forward. Loosen the bolt, add the binding ring for the LED power supply and re tighten. Not to be. As you can see, it's a shouldered bolt with a thick metal spacer and last, but not least a Nylon nut. The nut just happens to be in the most difficult areas to access.
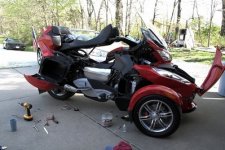
In order to get the nut back on you have to start with the right mirror and work your way back, removing panel after panel until you reach the jumper area.
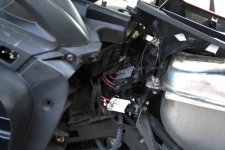
Once you get all the plastic out of the way you'll have to pull the small fuse block from it's holder and remove 4 of the 5 harness plug-ins in order to push it far enough out of the way. At that point you will start losing skin and patience quickly. If I contorted my hand just right I could manipulate my left index finger to where I could feel the bottom of the bolt.
I ended up taping the nut to my finger so that it would stay on as I worked my way through the tight turns until I could get the bolt to catch the threads on the nut. After talking with Scotty, Lamont and my Cowtown mechanic, Kevin, I was able to pull this mess together in a little over an hour. I never would've figured it out without the help of this site and Kevin. I will never, ever touch that bolt again except to make sure that it's tight. I did put a pig tail on it while in there. After all, that's what started this tear down to begin with.
Ahhhh! Now, that's much better :thumbup:
Last edited:

