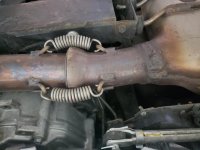
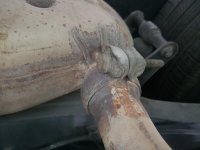
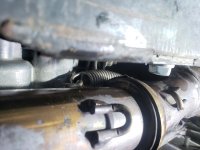
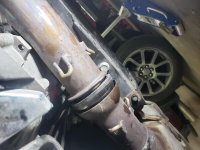
I got the Cat Bypass Pipe kit from Baldwin Iron Works. It came with a tool for removing the 3 springs that hold the front pipe of the CC to the engine exhaust. There is a clamp with a 13mm bolt holding the back pipe of the CC to the muffler. These all need to be removed. The top spring is hard to see and difficult to get much leverage, so I used a small rope attached to the handle and thru a hole on the chassis to gain some additional leverage.
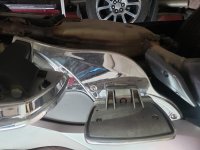
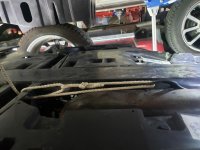
At the front of the CC are two prongs that fit into two grommetted holes on the frame. Additionally, there is a prong on top of the CC that goes into a rubber holder. These together take the weight of the CC and the prongs just slide into the grommets. The rubber holder on top can be removed and saved for another time should you wish to restore the bike to 'original'.
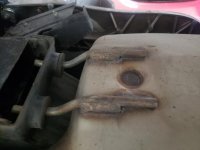
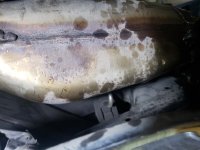
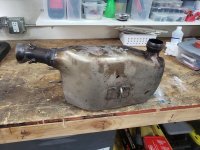
With the springs and rear clamp removed, separate the rear of CC from the muffler pipe and then pull the CC straight back. This will take some wiggling, as the grommets hold the prongs pretty tight. Some spray lubricant might help but I didn't need it. Then, with the CC hanging down, remove the top prong from the rubber holder. The CC is about 20 lbs or more, so be prepared to support the weight as it comes loose.
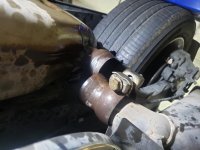
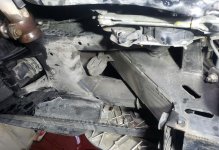
With the CC removed, a large cavity opens up, revealing the belt (and 'missing' belt guard), the parking brake and foot brake mechanism and whole bunch of other goodies that were otherwise difficult to access. The new pipe still leaves much of this cavity accessible.


At the front of the CC are two prongs that fit into two grommetted holes on the frame. Additionally, there is a prong on top of the CC that goes into a rubber holder. These together take the weight of the CC and the prongs just slide into the grommets. The rubber holder on top can be removed and saved for another time should you wish to restore the bike to 'original'.


With the springs and rear clamp removed, separate the rear of CC from the muffler pipe and then pull the CC straight back. This will take some wiggling, as the grommets hold the prongs pretty tight. Some spray lubricant might help but I didn't need it. Then, with the CC hanging down, remove the top prong from the rubber holder. The CC is about 20 lbs or more, so be prepared to support the weight as it comes loose.


With the CC removed, a large cavity opens up, revealing the belt (and 'missing' belt guard), the parking brake and foot brake mechanism and whole bunch of other goodies that were otherwise difficult to access. The new pipe still leaves much of this cavity accessible.


Last edited:
