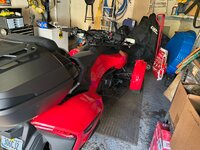
Installed the Lamonster Garage IPS Belt Tensioner
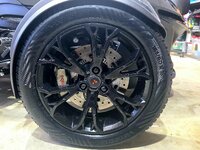
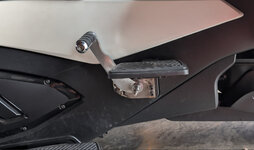
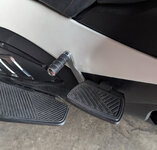
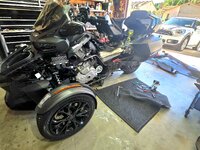
I love wrenching (besides riding of course) and I’m a total weenie for mods and upgrades. I was getting a lot of road vibration through the handlebars and when I recently changed out the tires, about 90 percent instantly of it went away. The bike now rides as smooth as a car now on the freeway. That 10% has been driving me crazy and I came to realize that the rest was coming from the belt at higher speeds. So, I just upgrade the Belt Tensioner to a Lamonster Garage IPS Belt Tensioner/Can Am Spyder RT 2014+, Part #LG-1165-RT. It was easy to install and you just have to take your time taking off all the side panels and foot rest (rider & Passenger) I used Martin the Vlogger’s Video on YouTube on removing the panels, since I’ve never removed the very bottom one that covers all the engine & running gear.
Took it out for a ride yesterday and all I can say is what a difference it made. I was really impressed now that all my vibration is gone when I’m cruising at 65 – 80mph. Got a 280mi ride tomorrow with my friends (who have Spyders too) on backroads through the Mojave Desert and up to Tehachapi (past the windmill generator farm) for lunch to really test it out. I will say that out of all the improvements I’ve made, the biggest and best one was the tire swap I did.
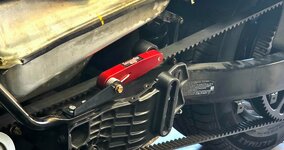
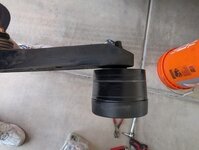
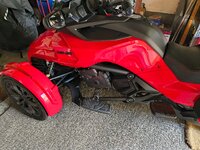
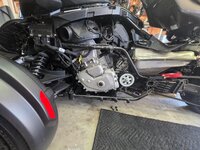
Funny thing: (In my defense… LOL) The part didn’t have any instructions with it other than telling you which holes to use on their 3 hole mount for the different models. So, when I removed the old tensioner and put the new one on; the holes didn't line up with the spacer or tensioner mount. I got mad at myself, thinking that I'd bought the wrong tensioner and called Lamonster’s Tech up. The guys there are amazing and pointed me to an install video on their site (didn’t think of that… duh!) and came to realize that it doesn’t use the original mounting holes. It goes just behind those mounting holes and attached to the frame strut. You can see in the last picture where the original holes are right below the tensioner.
Please Note: It's pretty easy to install (once the panels and floorboards are off), just make sure the roller arm is perfectly parallel with the belt and the roller is making full contact on the belt. If the arm is not installed parallel to the belt, you risk putting an extra load on the bearings in the roller and possibly causing the bearing to prematurely fail later down the road.
Added Note: My grandson has become very handy mechanically and is starting to show a lot of interest in Motorcycles/3 wheelers. So, I gave him a thrill and walked him through putting the Spyder all back together, including torquing all the bolts. He did a great job, and afterwards I took him for a ride so that he could see what the Spyder is like. I just love this thing! My Harley still remains covered... lol
-
-